
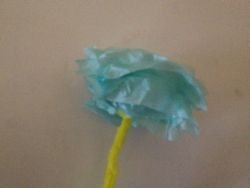
What you’ll need:
- Tissue paper in different colours
- Pipe cleaners
- Scissors
- Ruler
What to do:
1. Cut tissue paper into rectangles e.g. 5″x7″ is a good size. Make a stack of tissue paper, using either the same or different colours.
Suggested number of sheets: 15 for a fuller flower, less if you don’t mind the flower not being as full.
2. Start pleating the tissue paper lengthwise, accordion style, so forward and then backward
3. Take a pipe cleaner and wrap one end around the middle of your pleated tissue.
You can trim the ends of each side of your pleated tissue to make e.g. frilled petals if you have crimping scissors, trimmed into a point or else cut curves at the ends.
4. Start to separate each layer on one side of your tissue layers very gently pulling the layer up to the middle of the flower. Then do the other side.
Tip: Make a few different flowers in different colours to create a bouquet for a vase or a basket.