
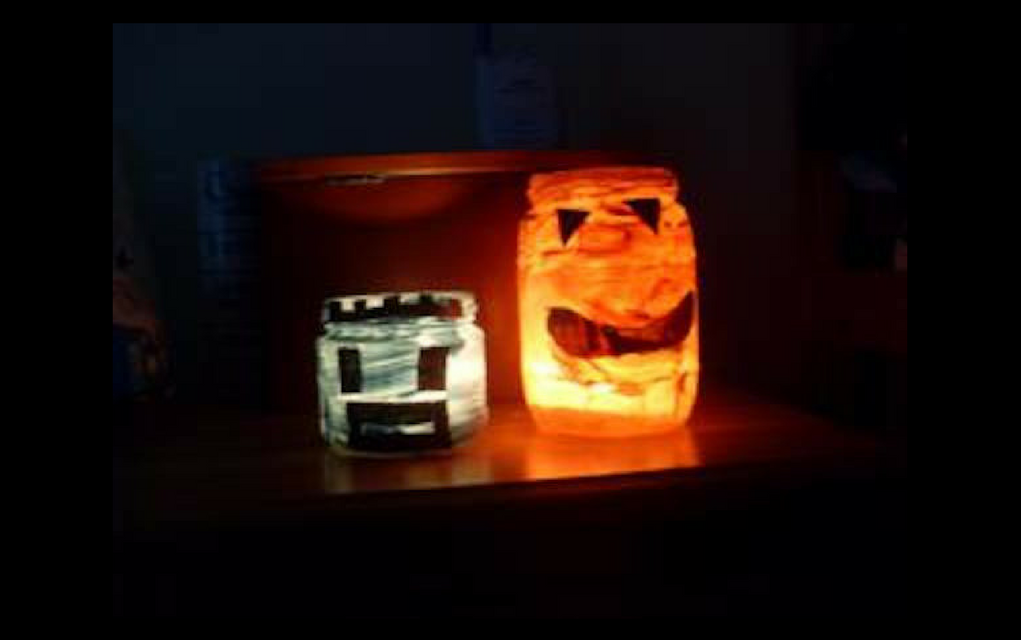
Looking for an easy arts and crafts project to do with your child for Halloween? Why not have a go at making our fun Halloween candle holder, which doubles as a great seasonal decoration for your windowsill or front step.
This is a lovely one for younger children too — my five-year-old and I first tried it looking for something simple and fun to decorate the house for Halloween, and it’s been a firm favourite ever since.
Sign up for our free newsletter, stuffed full of ideas, competitions and offers. Did we mention it’s free?
Make Your Own Halloween Candle Holder
#1. Collect Glass Jars
Start collecting glass jars a few weeks before Halloween. Try to gather different widths and heights to make the collection interesting — a jam jar, a mustard jar or similar all work perfectly.

Run them through the dishwasher to get the jars really clean, and remove the labels and lids, as you won’t need them.
#2. Get Your Paint Ready
Once your jar collection is clean and ready, organise some orange and green paint with a few paintbrushes. Poster paints, available in any art or craft shop, work well for this.

Small bowls for the different paint colours are handy for younger children — they can lean their paintbrushes on the edge between coats.
#3. Paint Around the Outside
The easiest way to paint the jars is to hold each one upside down and paint all around the outside.

One coat is usually enough, but if it looks a little thin once dry, let it dry fully and apply a second coat.
#4. Make the Mouth and Eye Paper
Next, prepare the paper for your mouths and eyes. Black construction paper works well if you have it, or you can simply colour in a sheet of newspaper with a black marker.
#5. Cut Out Eye Shapes and Mouth Shapes
With your black paper ready, sketch your mouth and eye shapes in pencil and cut them out. While the paint is still wet, stick the eyes and mouths straight onto the jars.

This saves you having to glue them on separately, but if the paint has dried quickly, a little glue will do the job just as well.
#6. Leave to Dry
Make sure the paint is completely dry before the final step. Pop a tea light into each jar, arrange your collection in a window with the scary faces pointing outwards, and light your candles.

Perfect for Halloween night!

Did you try making our Halloween candle holder? Leave a comment below and let us know — we’d love to hear from you!
Frequently Asked Questions
What kind of jars work best for this project?
Any clean glass jar works — jam jars, mustard jars and similar kitchen jars are ideal. Using a mix of heights and widths makes the finished collection look more interesting when lined up together.
What paint should I use?
Poster paint is a good choice, as it’s easy to apply, comes in bright Halloween colours like orange and green, and is widely available in art and craft shops.
Can I use real candles instead of tea lights?
Tea lights are the safest option for this project, as they sit securely inside the jar. If you choose to use any open flame, always keep lit candles away from children, curtains and anything flammable, and never leave them unattended.
Is this craft suitable for young children?
Yes — younger children can happily help with painting and sticking on the eyes and mouths. An adult should handle placing and lighting the tea lights.
You Might Also Like
- 10 Fun Halloween Crafts for Kids
- 30 Fangtastically Fun Halloween Projects for Kids
- Fun Halloween Bingo
- Free Halloween Printables: Play the Halloween Dice Game
Want More Ideas Like This?
If you enjoyed this Halloween candle holder project, why not browse our full collection of Halloween craft ideas for more easy, fun projects to try with the kids this season?
Sign up for our free newsletter for weekly craft ideas, activities and offers straight to your inbox.