Looking for a fun book-related craft project for your child? Here's how to make Google Eyed Bookmarks in 10 easy steps!
You will need
Some coloured card or construction paper
A ruler
A pencil (an eraser is handy too)
Glue stick
A pen (or you could use Craft Googly Eyes and glue them on)
Step 1. Measure out three 5cmx5cm squares in an L-shape in the corner of your card. | |
Step 2. Cut out around the edges. | |
Step 3. Turn your L shape like this. | |
Step 4. Take one corner of the right hand square and fold it diagonally towards the point to make a triangle. | |
Step 5. Do the same on the other side. | |
Step 6. Now fold the right hand triangle down left towards the edge. | |
Step 7. Put some glue onto the top of the folded down section. | |
Step 8. Fold the left hand triangle onto the glued section and press down firmly. | |
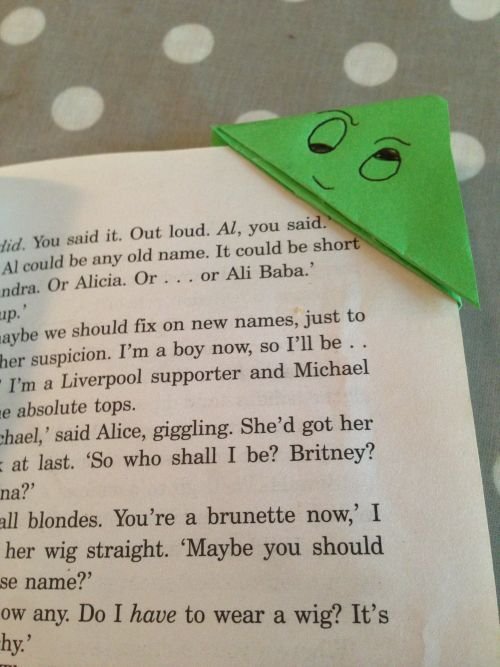
Step 9. Draw some googley eyes and if you want to add smile, nose, eyebrows and other features feel free! | |
Step 10. Tuck your new bookmark over the page you want to mark in your book! |
Related: 4 fun book crafts for kids
Original idea from Different Solutions facebook page
Did you try making our Google Eyed Bookmarks? Tell us how you got on in the comments below.
Did you like this article? Sign up for our free newsletter packed with information and great offers. Or join us on Facebook and follow us on Twitter. Why not share this article with your friends?