
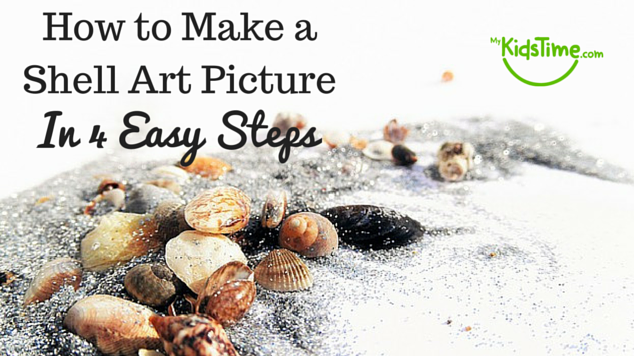
Wondering what to do with all those seashells and stones you gathered at the beach? Noirin from Galway Atlantaquaria shows us how to make a shell art picture in 4 easy steps — a lovely way to make your beach memories last the whole year round.
This is a simple, low-cost craft that works well as a family project on a rainy afternoon, and it makes a gorgeous keepsake once it’s finished.
What You’ll Need
 An old picture frame with the glass removed
- Wall tile adhesive
- Old knife or spoon to spread the adhesive
- Gloves
- Shells you’ve collected
- Some sand and pebbles
- Googly eyes (if you’d like to add a bit of fun)
- Liquid latex or varnish
- Old paint brush

You may also like these 8 Stunning Shell Crafts for Kids.
How to Make It
- Spread a layer of wall tile adhesive, about 0.5cm thick, over the back of the old picture frame.
- Place the shells onto the adhesive and sprinkle sand and pebbles around them to build your pattern. Add googly eyes if you like.
- Leave the picture to harden for a day or two. Once the adhesive has fully hardened, paint it with a thin layer of liquid latex or varnish — younger kids might need a hand with this part.
- Leave to dry, and add a second coat of varnish or liquid latex if needed for extra shine and protection.
And that’s it — enjoy your finished picture! It’s a lovely way to display shells from a family holiday, and each one turns out completely unique.
Frequently Asked Questions
What age is this craft suitable for?
Younger children can help choose and place the shells and sand, while an adult or older child should handle the tile adhesive and the varnishing step.
Can I use a different glue instead of tile adhesive?
Tile adhesive works well because it’s thick enough to hold shells of different shapes and sizes in place while it sets. A strong craft glue can work for lighter, smaller shells, but it may not hold heavier shells as securely.
How long does the picture take to fully harden?
Give the adhesive at least a day or two to harden fully before varnishing, so the shells stay firmly in place.
Can I use shells from a craft shop instead of ones I collected myself?
Yes — either works well. Using shells collected on a family day out just adds an extra bit of memory-making to the project.
More Craft Ideas to Try
If you enjoyed this project, you might also like:
Have you made a shell picture before? We’d love to hear how yours turned out — let us know in the comments below.
Want more simple craft ideas like this one delivered straight to your inbox? Sign up for our free newsletter for weekly activity ideas for the whole family.