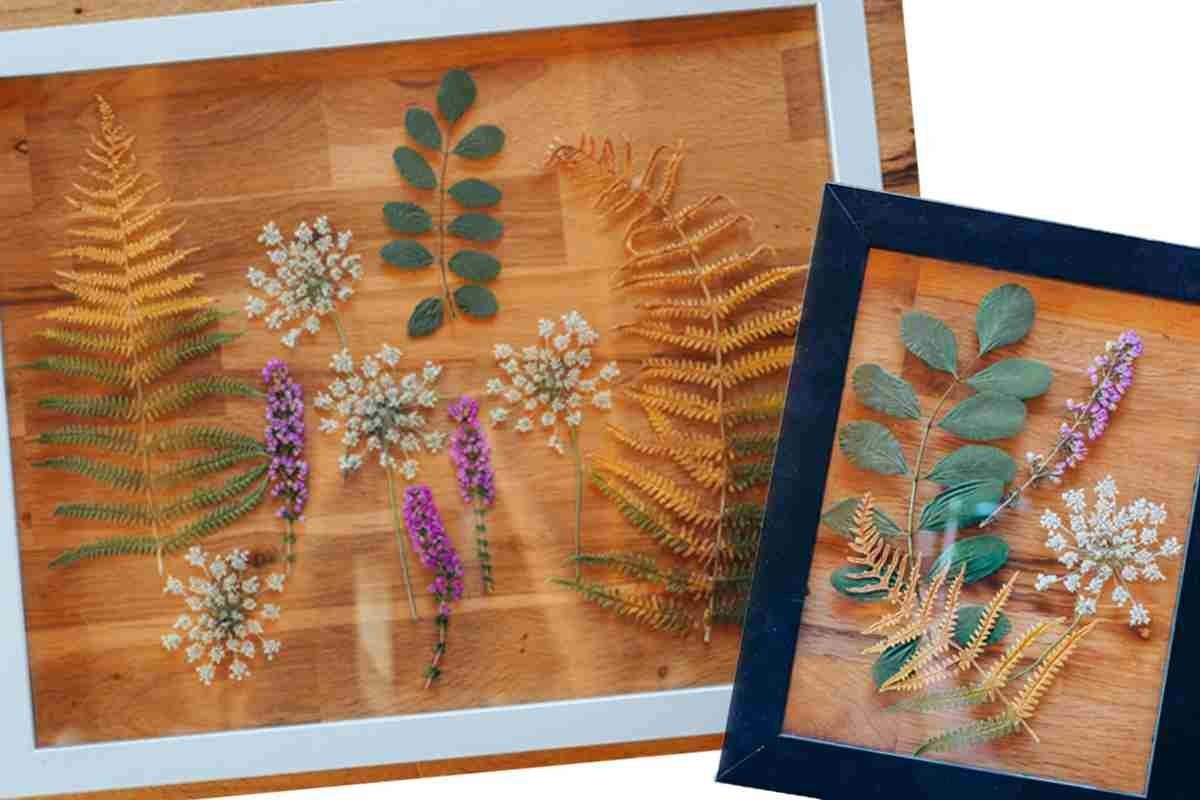
Are you looking for simple art and craft activities that you can do with your child? Learn how to create your own botanical artwork with this fun and easy nature craft project that all ages will enjoy!
Don’t miss our best content straight to your inbox! Sign up now and get our FREE newsletters packed with fun ideas and things to do with the kids, family-friendly recipes, expert advice, parenting tips and great competitions.
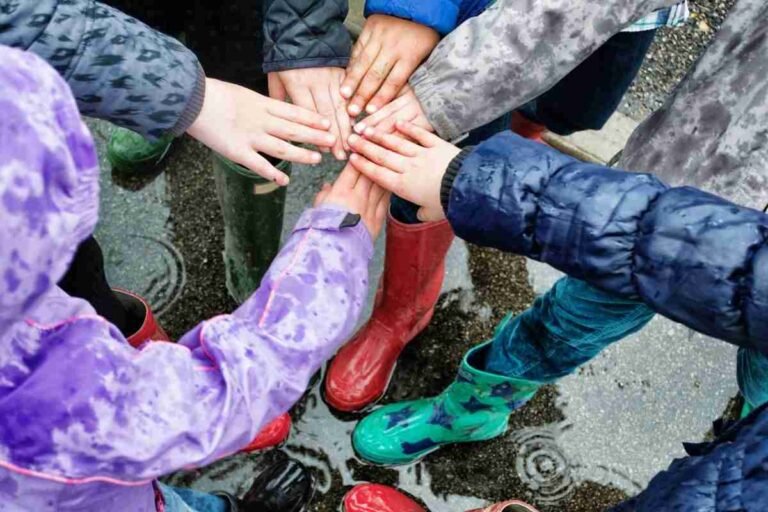
This time is challenging for parents and children alike so the team at Klorane, the French eco haircare range, have come up with some fun ideas to keep busy and learn about nature while being creative at the same time.
After you have taken a family walk in nature (or in the garden), try creating some botanical artwork together. Follow these tips to make your own nature masterpiece – a great, creative fun for the whole family.
You May Also Enjoy 35 Exciting Books For Curious Kids To Learn About Nature
How To Make Your Own Botanical Artwork
If you want to create a piece of botanical artwork with a glass background, either use an herbarium frame or find two identical glass panes and create a frame using a glass pane on either side. Alternatively, you can use paper/cardboard if you want a coloured or plain background.
You Will Need
- Dried leaves and flowers collected at the park, in the garden or on the balcony
- A nice frame – don’t be afraid to recycle a frame you already have at home. Make sure your frame is the right size for your assortment of plants
- Child-friendly glue
What To Do
1. First go on a harvest

You want to pick some plants for your nature craft project. Here are some tips on which plants to choose:
- Take care to have a variety of sizes that complement each other.
- Ensure you have a good balance between flowers and leaves.
- Make sure you choose different colours for a vibrant mix.
Top Tip: keep as much of the stem of the plants you pick as possible, the stems will be helpful when assembling the picture.
2. Dry the chosen plants

Lay the plants and flowers side by side between two sheets of paper (newspaper or blotting paper). Use an object (e.g. a pile of books) to weight down and press the plants. Let them dry for a few days, ideally a week if you have the patience!
Once your plants/flowers are dry, take out the frames and try some different layouts to see what you like for your picture.
3. Frame the picture

Arrange your leaves and flowers as desired between the two panes, if using a glass frame, or attach them to your background paper or card with small blobs of glue.
You can also use some double-sided scrapbooking tape to add some stickers and drawings.
4. Fasten the frame
Put your botanical artwork into the frame and close it. You are now ready to display your wonderful new creation!
You May Also Enjoy You Will Love These 11 Creative Garden Crafts For Kids
Thanks to Klorane for providing us with this fun project.
Klorane is renowned for its gentle, effective products, and its classic ranges – Oat and Chamomile are perfect for all the family. With a focus on one key ingredient to treat each hair concern, Klorane is committed to protecting hair, and the environment in the process.
Klorane’s Eco Commitment:
- Plant-based innovation through cutting-edge technology and the skill of in-house experts (botanists, agronomists, biologists, and pharmacists).
- Protecting biodiversity and ensuring the continued existence of resources and supply with a policy of sustainable development adapted to the 212 plants and 410 plant extracts the Group works with.
- A guarantee of efficacy and safety, an approach derived from the company’s pharmaceutical culture.
- Respect for all of the partners, farmers, extractors, growers, and suppliers.
Have you tried to make your own botanical artwork together? Leave a comment below and let us know – we’d love to hear from you!