Summertime is lots of fun for doing outdoor science stuff. It’s great to be able to get outside and do those experiments outdoors. So get your messy clothes on and step outside for some summer fun. Here are 6 Sizzling Summer Science Experiments to have a go at!
Most of these experiments can be adapted to indoor use.
Summer Science Experiments For Kids
#1. Make homemade ice cream and learn about the freezing point of ice
It wouldn’t be summer without most of us consuming large quantities of this delicious dessert, but have you ever wondered how it is made? There are many, recipes out there, but I find the easiest for kids to make contain just milk products and sugar. Feel free to add flavourings and fruit if you wish.
 Materials Needed

- 1 gallon plastic jar or a coffee can.
- 1 medium zip-loc bag
- 1 large zip-loc bag
- 6 tablespoons of rock salt (available at your local co-op store)
- 200ml of full fat milk,
- 200ml of whipping/double cream,
- 6 tbsp. sugar
- Crushed ice
- 1-2 tsp. of vanilla essence
- Towel or wool gloves
Experiment
- Fill the plastic jar/coffee can about half full with crushed ice.
- Add about 6 tablespoons of rock salt to the ice. Seal the plastic jar and shake the ice and salt for about five minutes. You’ll need to wear your gloves or use a towel when you’re handling the jar. If you’re curious as to this is because the rock salt and ice mixture gets down to about -100C
- Mix the milk, cream, sugar and vanilla essence until the sugar is dissolved.
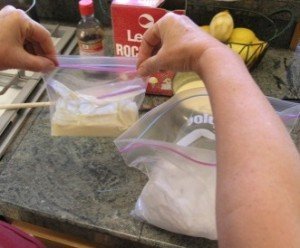
- Carefully pour the mixture into the medium zip-loc bag.
- Seal tightly, allowing as little air to remain in the bag as possible. Too much air left inside may force the bag open during shaking.
- Place this bag inside the large zip-loc bag, again leaving as little air inside as possible and sealing well. By double-bagging, the risk of salt and ice leaking into the ice cream is minimized.
- Place the two bags inside the jar with the ice and seal the bag. Wrap the bag in the towel or put your gloves on. Shake, rock, roll, and mix that can! Your ice cream should be ready after about 15-20 minutes.
- Once mixed, remove the inner bags from the jar and rinse them well with water. You don’t want any salt water accidentally getting into your ice cream.
How Does It Work / What does the salt do?
- When salt comes into contact with ice, the freezing point of the ice is lowered from 00C to approx. -100C. The lowering of the freezing point depends on the amount of salt added. The more salt added, the lower the freezing temp of the ice. This provides an ideal environment for ice cream to form as the temperature needs to be well below freezing.
- Ice cream is a colloid, an emulsion where two substances, i.e. milk and cream are just suspended within each other rather than being chemically bonded together.
You May Also Enjoy 19 Fun Summer Activities for Kids
#2. Sun Prints
You can make fun pictures using the sun’s power to fade the colour from coloured paper!
Materials:
- Dark coloured drawing paper
- Solid objects with interesting shapes that you can trace around (leaves, buttons, coins, and plastic toys work well)
- Pencil
- Scissors
- Blue tac or double sided sellotape
- Window that gets lots of sunlight
- Tape
Method:
- Trace around your objects on the drawing paper and cut out each shape. Or, you can draw your own shapes and cut them out. Be creative! You could even draw letters to spell your name.
- Arrange the paper shapes onto on a new sheet of dark-coloured paper to make a design.
- Use the blue tac to position these shapes on the second piece of paper.
- Turn the shapes towards the window and tape the corners of your picture to the window to hold it in place.
- Leave your picture in the window for a couple days or until you notice that the colour of the construction paper has started to fade. (Compare it to a new piece of the same colour of paper to see if it has changed.)
- When it is quite a bit lighter than it was when you started (it might take up to a week; it depends on how many sunny days you have!), untape the picture from the window and peel off the shapes. They should come off pretty easily, but do it slowly to make sure your picture doesn’t tear.
How does it work?
- Since the shapes blocked sunlight from hitting the parts of the paper they covered, you could see the original colour of the paper after you peeled off the shapes! The extra layer of paper from the shapes protected those parts of the paper from the sun’s rays that faded the colour from the rest of the sheet of paper.
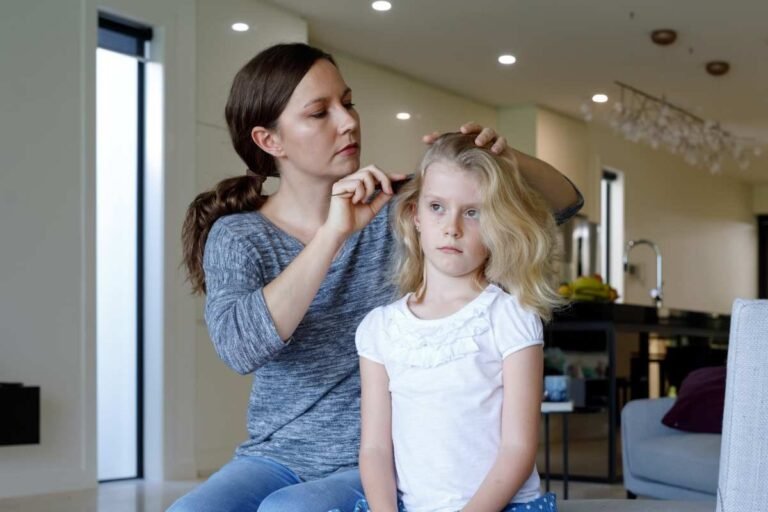
- Sunlight contains ultraviolet (or UV) rays – the same rays that will give you a sunburn if you are in the sun for too long without sunscreen on. Those rays cause chemical reactions in the dye that gives paper its colour. When the paper absorbs the rays of light, a chemical reaction breaks down the dyes so they aren’t as bright. UV rays can lighten a lot of things. Some people’s hair turns a lighter colour when they are in a lot of sunlight. Hanging white laundry outside in the sun to dry can make it look whiter also.
You May Also Enjoy 50 Superb Summer Activities for Kids
#3. Purify Water
When water evaporates from the ocean, it leaves salt behind. If you had no fresh water to drink, you could distill (or purify) ocean water by taking advantage of evaporation. Here’s how:
Materials
- Water
- Salt
- Large bowl
- Short glass or beaker.
- Cling film
- Masking tape
- Smooth rock (or other small weight)
 Method
- Add salt and food colouring to 400ml of water and stir until it dissolves, then pour it into a large bowl.
- Place a short glass in the middle of the bowl. (This glass should be shorter than the rim of the bowl, but taller than the level of the saltwater.)
- Now cover the bowl with cling film, taping the edges, if necessary, to get a tight seal. Place a small rock on top of the plastic directly over the glass in the bowl. This helps you collect the distilled water in the glass.
- Put the bowl outside in the sun. Leave it for several hours, or for the whole day. When you check it again, there will be water in the cup. Taste it to find out if it’s salty or fresh!
What happened?
- The sun warmed the water in the bowl until it evaporated, becoming a gas. When the gas rose and hit the plastic it condensed there in droplets. The droplets rolled down the plastic toward the weight and eventually fell into the glass.
- The salt and food colouring was left behind in the bowl, making the water in the glass pure enough to drink.
#4. The Science of Bubbles
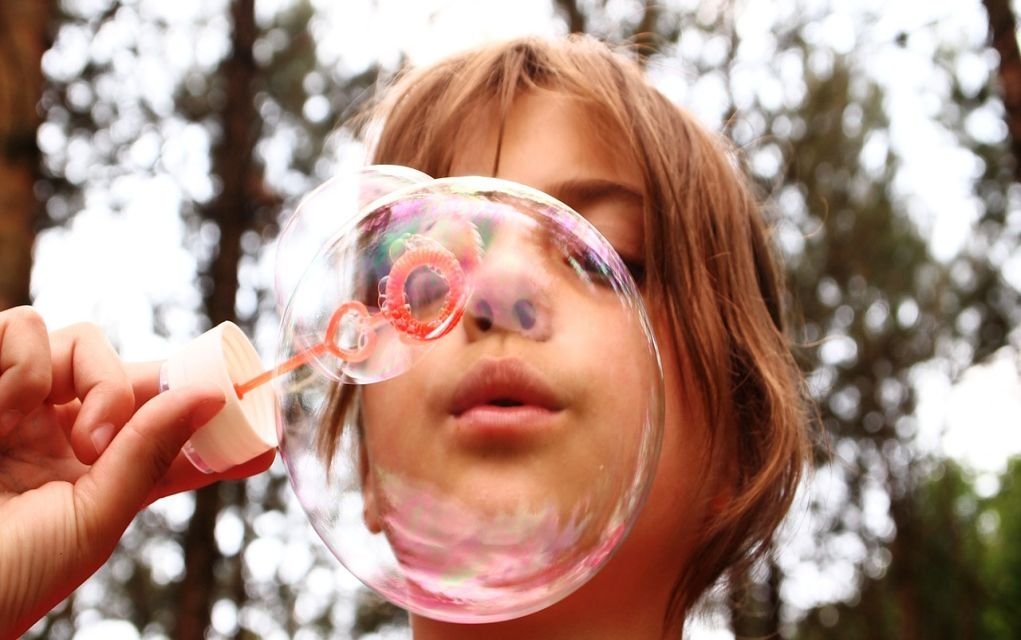
What child or adult doesn’t like to blow bubbles? If you can, there is great satisfaction in making your own bubble solution. Good quality water is essential or distilled water. Experiment with various brands of washing up liquid also as the results may vary.
Materials
- 240mls water
- 30ml washing up liquid
- 15ml glycerin
Method
- Mix the water, glycerin and washing up liquid thoroughly in a large bucket or bowl. Glycerin is very thick, so make sure that it is mixed in completely.
- Let the bubble solution sit in the open air, undisturbed for 24hrs before use. This will strengthen the bonds in the bubble solution
- Use various wands to get different shape bubbles e.g. a bent pipe cleaner. To get large bubble you can use a wire coat hanger bent into a circular shape.
How Does It Work?
- Bubbles form because of the surface tension of water. Hydrogen atoms in one water molecule are attracted to oxygen atoms in other water molecules. They like each other so much, they cling together.
- Normal bubbles enclose the maximum volume of air with the minimum amount of bubble solution, so they are always round.
- When you stretch your bubbles across contraptions like the bubble wall or a hula hoop, bubbles cling to the sides as you dip into the solution, making the bubbles all sorts of shapes.
- The surface tension of water, alone, is too strong to make good bubbles. Adding soap reduces the surface tension. It also adds oily film that slows down the evaporation process, so you get longer-lasting bubbles.
You May Also Enjoy Bubble Ideas You Might Not Know
#5. Candy Science – Floating Letters
Delicious hands-on science that melts in your mouth, and dissolves! M&Ms have the slogan of melting in your mouth, but not in your hands. You want to know something cool? The special melting property is totally scientific.
Certain parts of an M&M will dissolve in water, while others won’t. The results are an amazing phenomenon that we call Floating Letters.
Materials
- M&M candies
- Clear glass bowl
- Water
Method
- Fill a clear glass bowl half-full with water.
- Drop a few M&M’s into the water.
- Allow the M&M’s to soak in the water for 10-20 minutes.
- As the M&Ms sit in the water, you will witness the colored dyes start to dissolve into the water. After a bit more time passes, you will see a translucent shell, along with the white “M” float to the surface of the water. Cool!
How Does It Work?
- Certain parts of the hard candy shell are soluble in water and some parts are not (insoluble).
- After a short time of soaking in the water, you begin to see the colored dyes from the M&Ms dissolve and mix together in the bowl. This lets you know that the dyes are, in fact, water soluble.
- However, the translucent shell and white “M” are not water soluble. That’s why, after 10-20 minutes, you witness this hard shell and “M” float in the water without breaking apart.
You May Also Enjoy 18 Easy Science Experiments for Preschoolers
#6. Exploding Bags
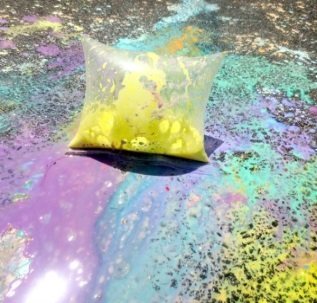
If you have ever made a baking powder and vinegar volcano, you will know how exciting it can be. This is a variation on that experiment and you get to make beautiful patio art at the same time.
Materials
- Zip loc bags
- Corn Flour
- Vinegar
- Food coloring
- Baking soda
Method
- Mix corn flour, food colouring and vinegar to achieve a thick liquid consistency. You want it to be thick but very much still a LIQUID- otherwise it won’t explode from the bag.
- Fill the bag at least 1/3 of the way with a mixture. The fuller the bags are the bigger the explosions. Re-mix them just before the experiment as the corn flour starts to solidify when left to sit.
- Make the baking soda bombs: Lay a square of kitchen paper towel flat and place approx. 1-2 tablespoons of baking soda in the middle. The more you use for each bag the bigger the reaction between the active ingredients, and the bigger the explosion.
- Fold over the towel to prevent the powder falling out
- Place a baking soda bomb into the paint bag. Then very quickly seal the bag. I found it helped to have the bag mostly sealed before adding the baking soda bomb. The bags will slowly expand, getting bigger and bigger until they POP
- As they pop they send beautiful colours bursting out, creating BEAUTIFUL chalk art.
You May Also Enjoy 5 Fun Science Experiments for Kids to try at home
Have your say! Did you try any of these summer science experiments for kids? How did you get on? Tell us in the comments below!